
Often times, information the customer would not like included on the website from the integration. To allow for advanced filtering beyond Date search, Location, Property Type, Bedrooms and Bathrooms you will need to setup some filters. There are two ways to apply the filters – importing from the PMS (easiest) and adding a custom filter and applying to specific units (more time consuming – only do this if the amenity is not in your PMS).
Import from PMS:
Navigate to the search form settings page ‘Vacation Rentals’ -> ‘Search Form’ and select the ‘Choose Amenities’ tab.
- Add a filter for every item you wish to be searchable in the search form. Note: for a property to be returned on a given search – it must have the desired amenity in it’s list of amenities on the property page.

- Once you have all the amenities you’d like to search, you will need to run the Sync process again. To do this, navigate to Settings > Q4 Vacation Rental Settings > select ‘Sync Now’.
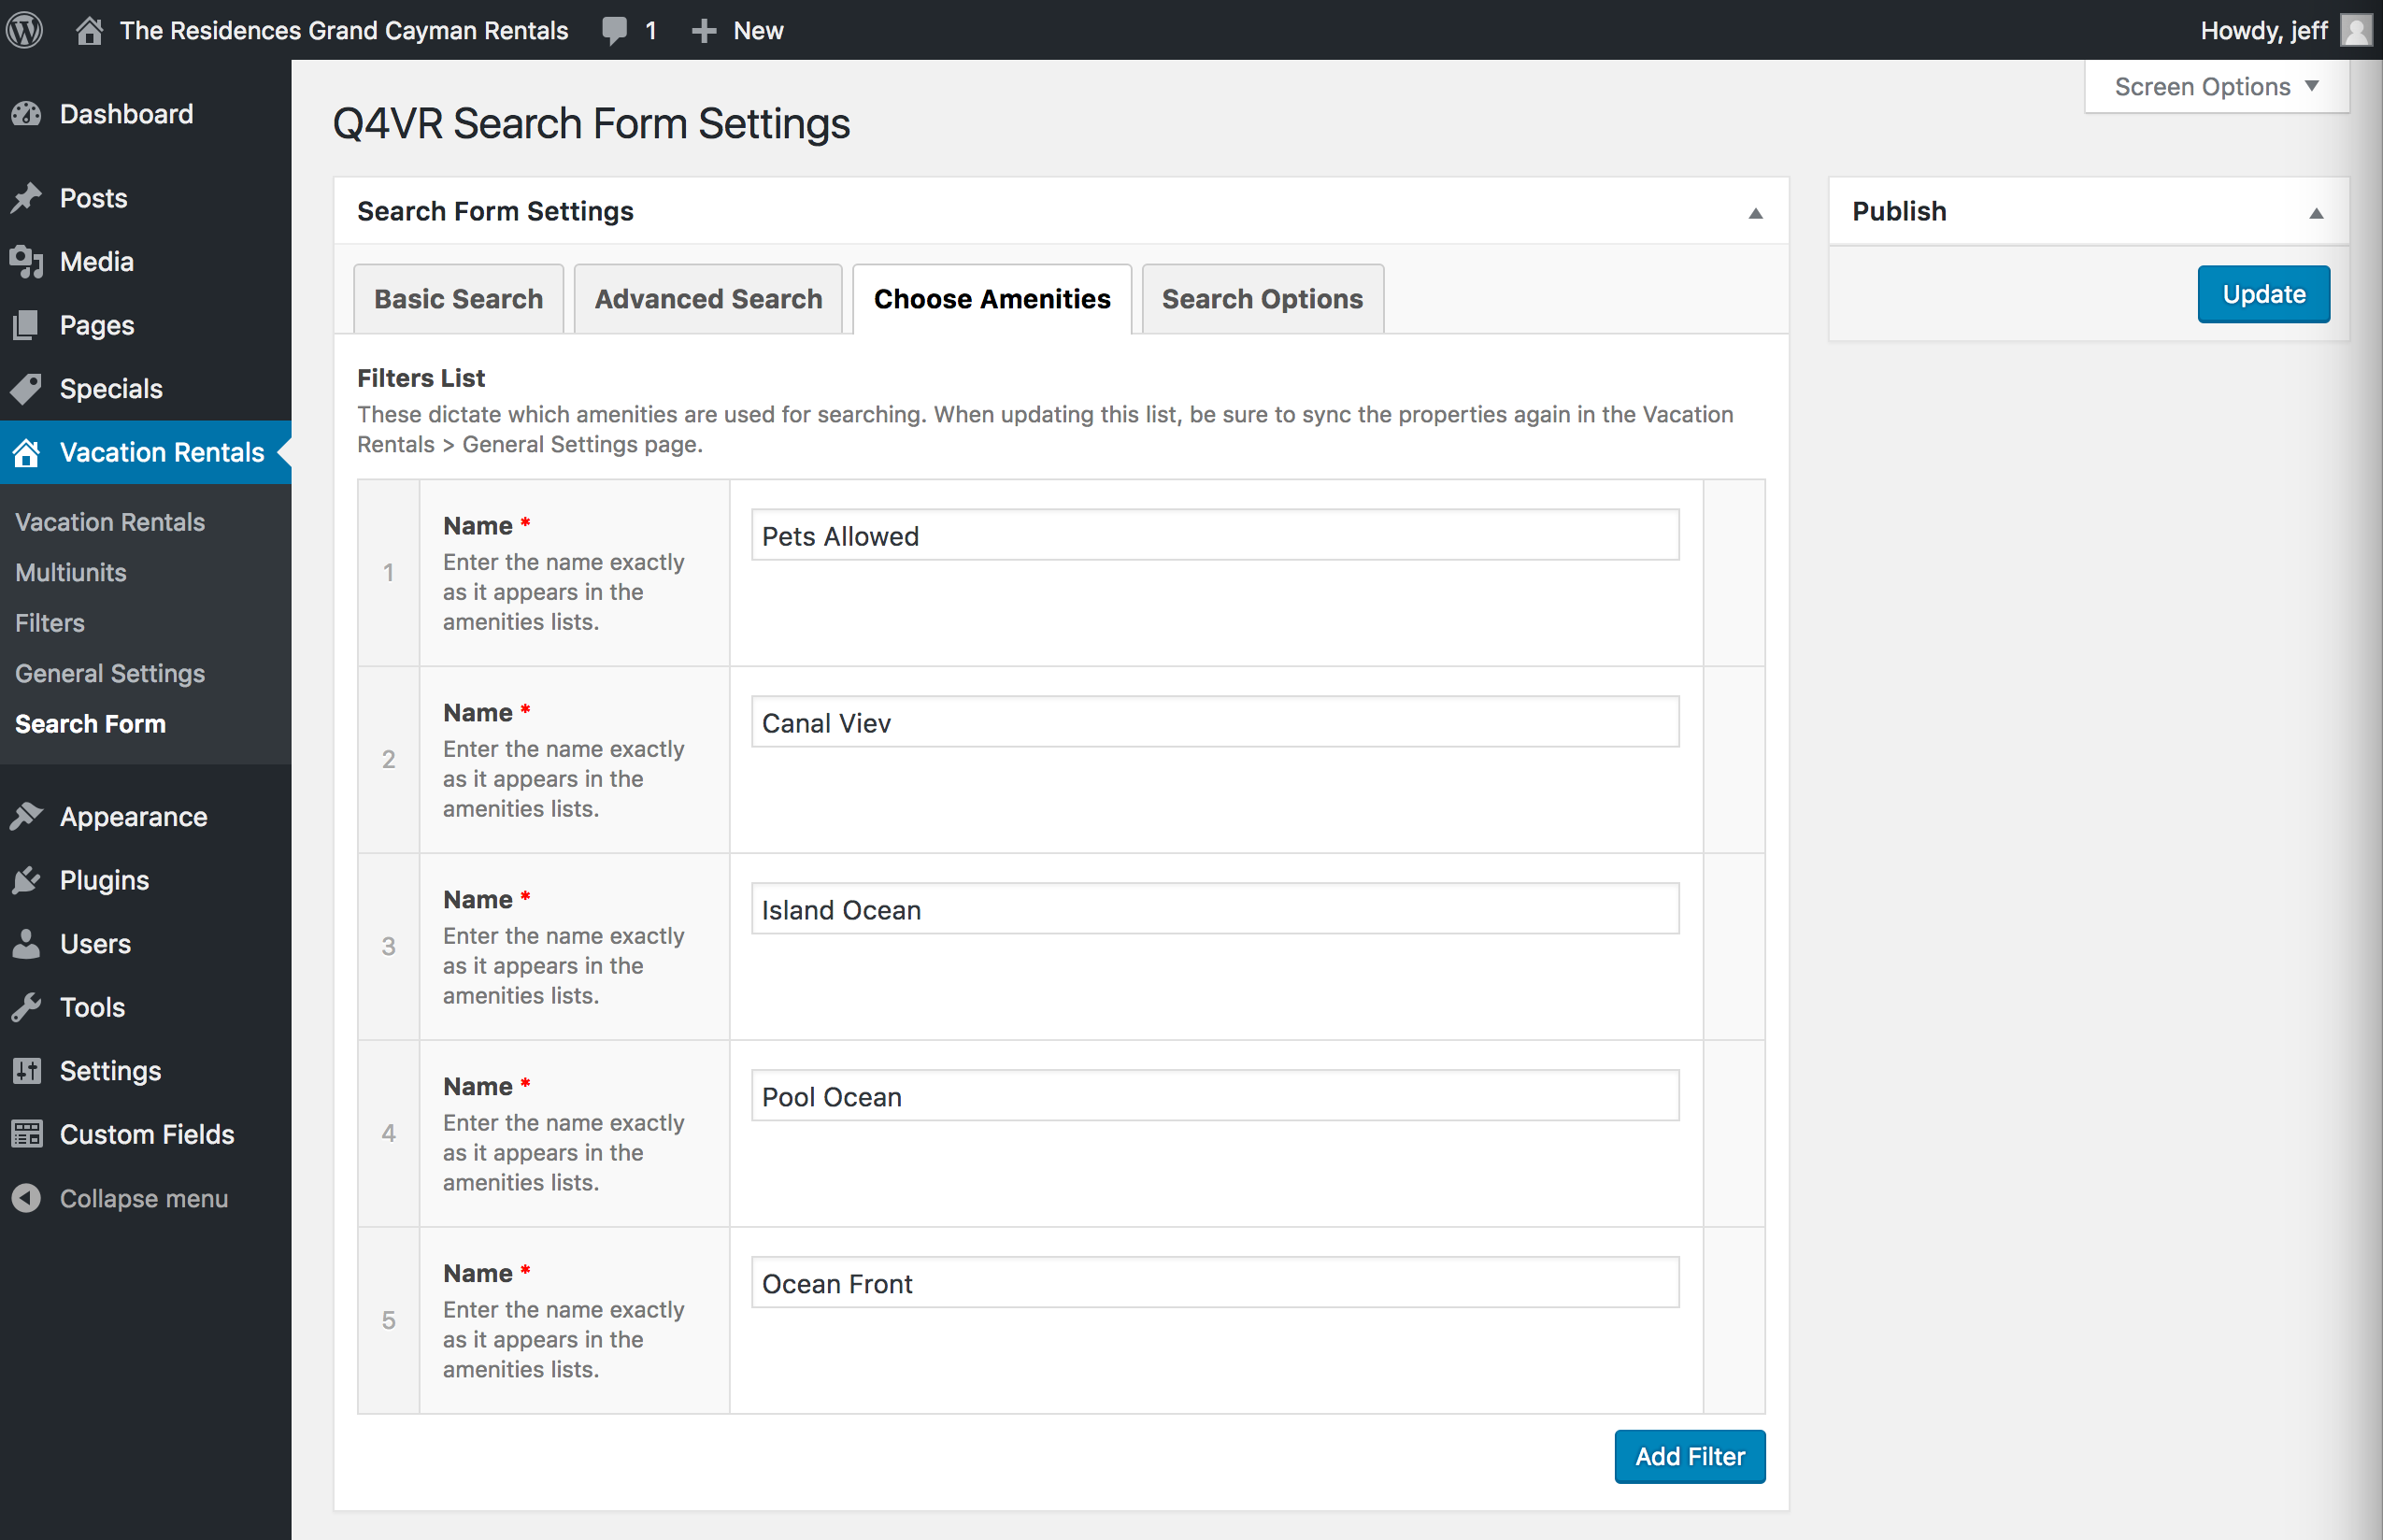
You can verify that the desired amenities have been synced with the properties by seeing the Count on the Filters table (‘Vacation Rental’ > ‘Filters’).
Manually add filters:
*Only use this method if you need a filter that is not applied automatically from your PMS amenities.
- Log into your Wp-admin dashboard and navigate to Vacation Rentals > Filters.
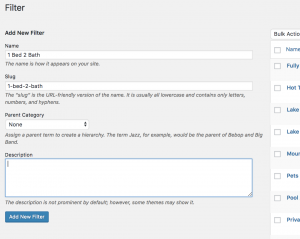
- Create a *Manual parent category:
- Name: *Manual
- Add New Filter
- No need to include the slug as it will auto-generate
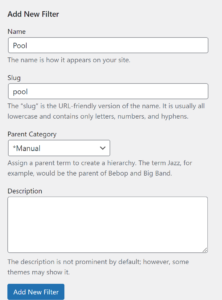
- Add a new filter by entering a name and slug and clicking Add New Filter. Do not use any special characters.
- Associate the new filter to the Parent Category: *Manual.
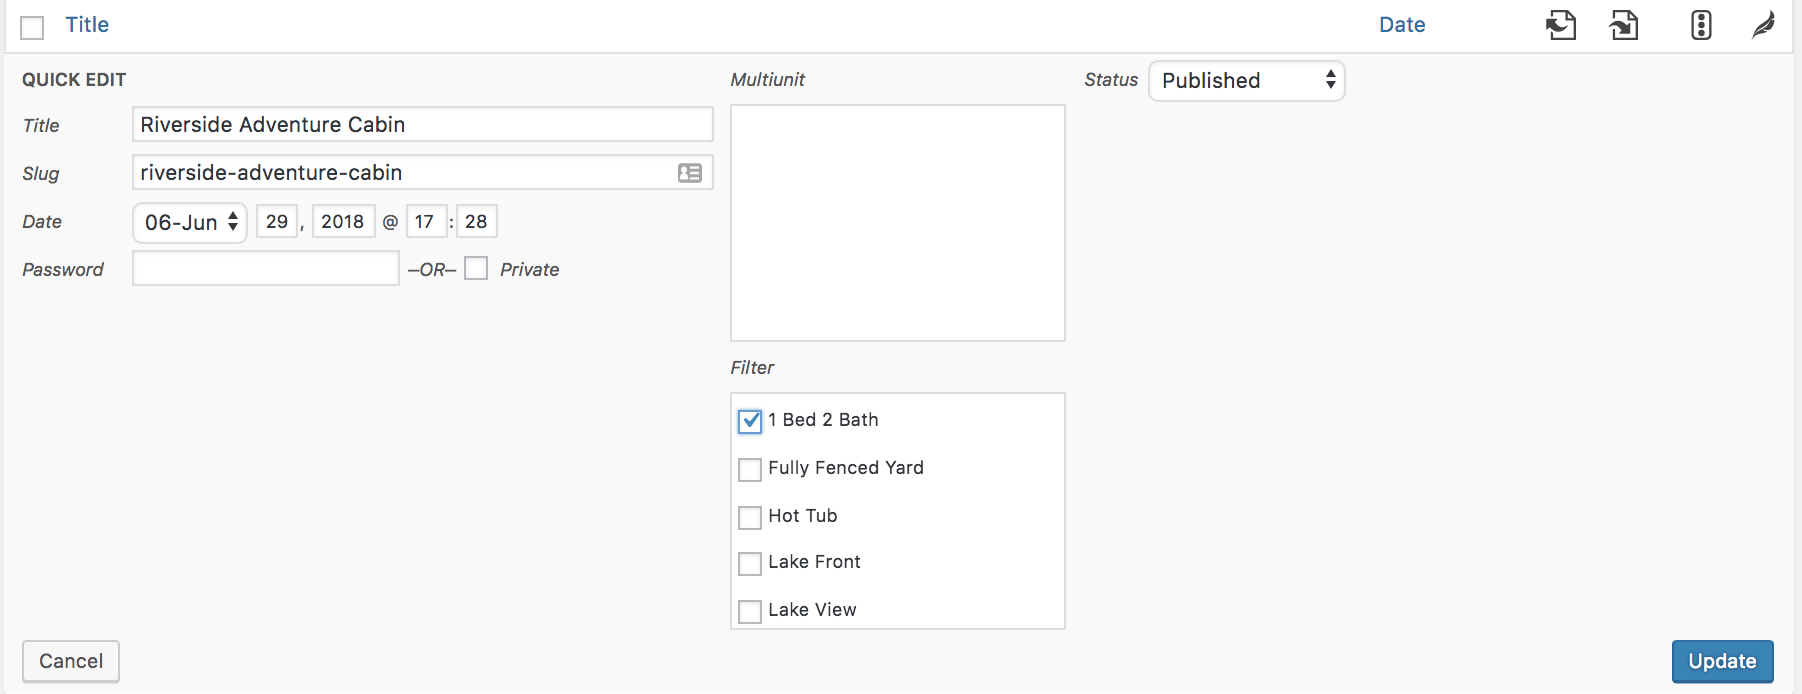
- Navigate to Vacation Rentals so you see your list of Properties.
- To add the new filter to a property, click on Quick Edit under the property. In the Filter section, check the box for your new amenity.
- Click Update. Move on to the next property.

- You will need to redo the filters if the unit is deleted and re-added with a sync because this filter is not applied through the sync (usually for name change or unit code change).
If you want this to be a part of the vr landing page
- Do a general front-end search on the site. Do not select any dates or any search criteria pulling in from the PMS.
- After you click Search, copy the long URL from the browser URL bar.
- Copy that url into the Search URL box on the VR Landing Page edit screen:

- Once you’ve pasted the new URL, it’s time to manually add the manually added filter.*In the case of Gore Creek, we added long term rental as a filter on the backend and have attributed a few properties to it.https://gcpvail.com/vacation_rentals?post_type=vacation_rental&s=&action=&unit_code=&start_date=&end_date=&min_bedrooms=&guests=&filter=long-term-rental**If this happens multiple times, you could do the same thing but replace the long-term-rental part with the slug (usually just the words with a – between them) for the other filter.