Here are the steps how to label printers on your Windows that you have access to so you don’t confuse which printer you are sending docs to. This does not apply to Mac computers.
Note: This will only change the name on your personal Windows.
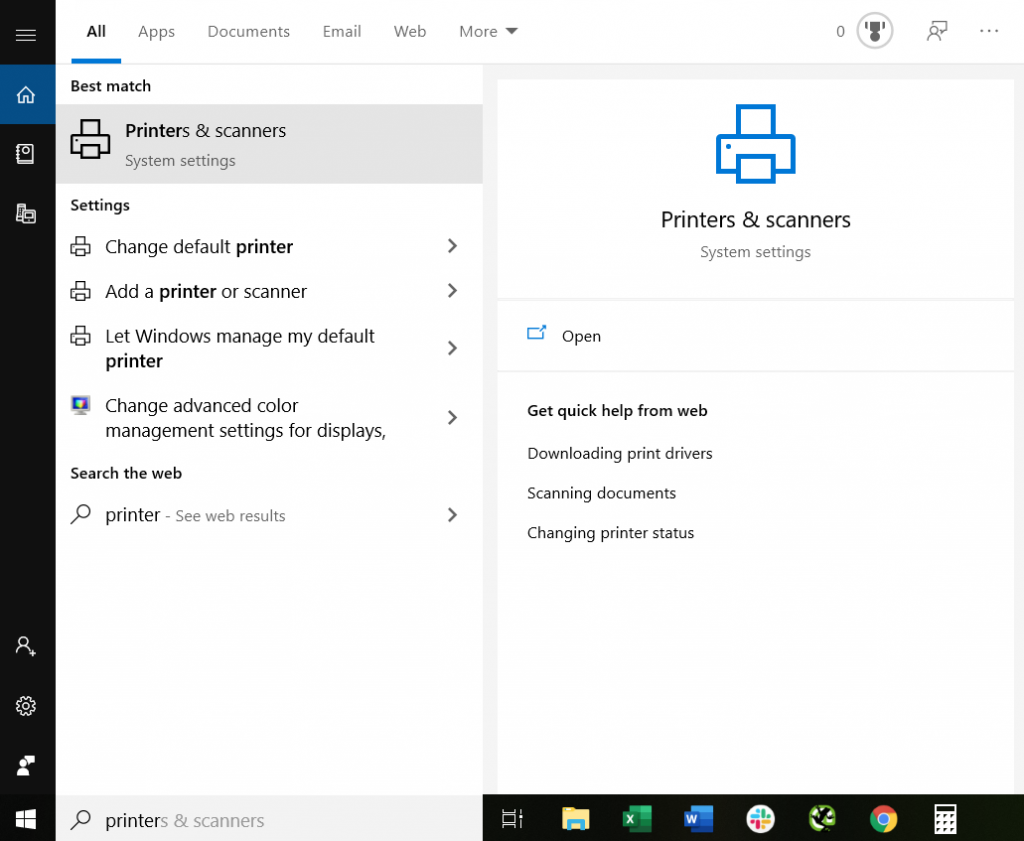
Step 1: Search for “Printers & Scanners” on your Windows and click that in your Windows Menu.
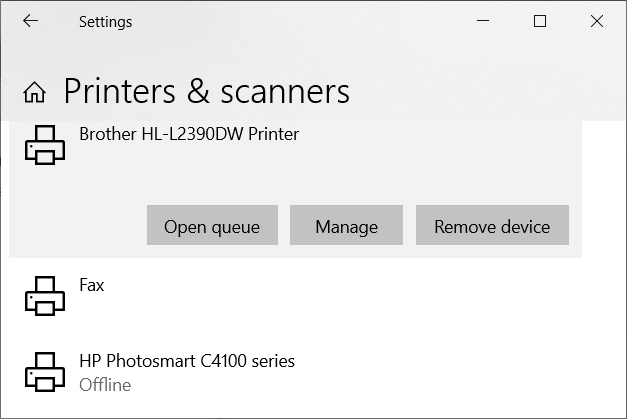
Step 2: Scroll to view the printers on your desktop and select the Printer you want to edit the name of and click “Manage”.
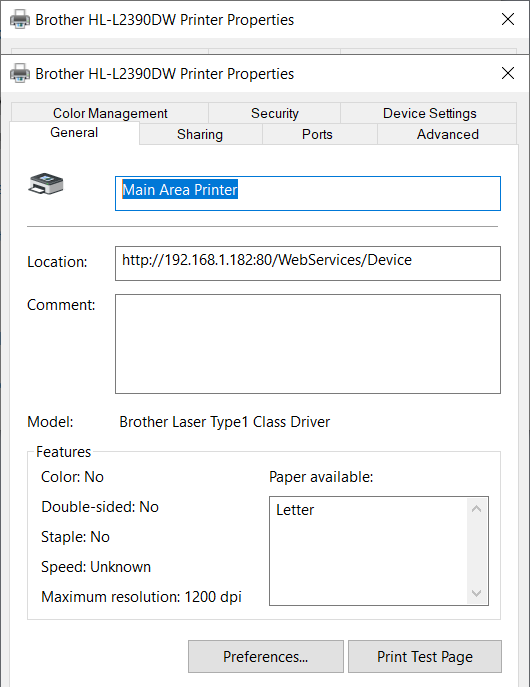
Note: “Brother HIL-2390DW Printer (Copy)” is the one in Nancy’s Office and the other one is for the main printer. If you aren’t sure which printer is which, after you click Manage, click Printer Properties and then you can select “Print Test Page” to confirm.
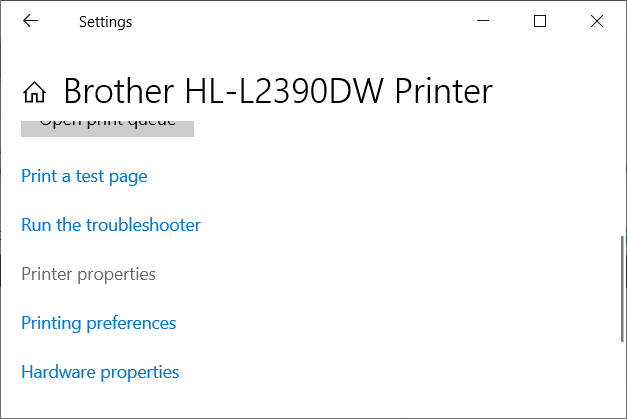
Step 3: Scroll and click “Printer Properties”
Step 4: Type in the name that you would like for the printer and click “OK”.