The dimensions for the set featured image on the new framework are 1500×609. (As long as you size an image to be 1500 pixels wide, you should be fine. Some of the image will get cropped off on the blog page itself but it will appear in it entirely on the blog index.)
There are a couple of different ways to crop and size the photo, but here is what I find to be the easiest.
Be sure to select a horizontal image and keep in mind that you’ll be cropping out about 1/3 of the height. Ie: Images that are blurry for effect can look really strange once cropped.
- Select a horizontal image from Thinkstock and download the medium size. Copy the photo credit info from the details on the top right of the Thinkstock image. Photo credit is the recognition of the photographer that took this photo. (These images are generally about 2200+ pixels wide and will need to be resized no matter what framework you are using.)
- Go to Picmonkey.com and click Edit. Upload the selected image from Thinkstock.
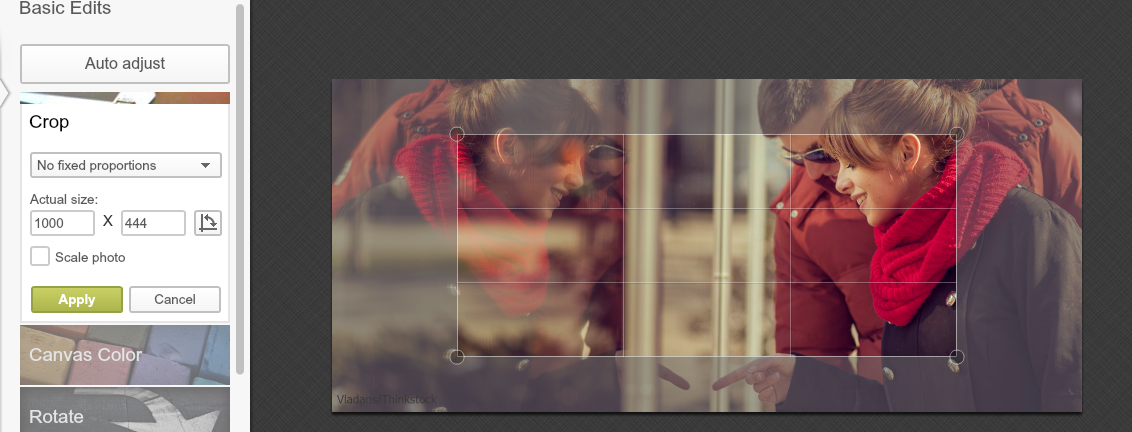
- Once uploaded, select Crop from the menu on the left and a box will appear on the photo itself. This box shows you what will be included in your cropped photo. Now you need to enter the dimensions

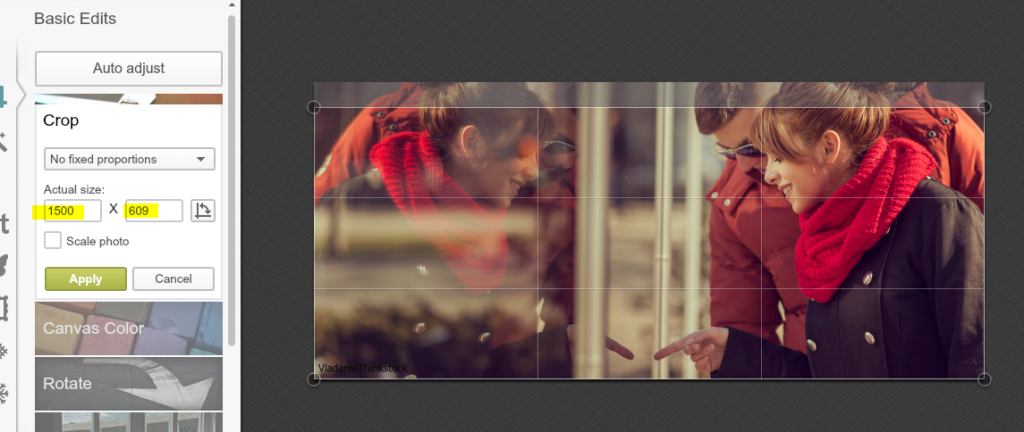
- Under “Actual Size,” type 1500 in the box on the left (width) and 609 on the right (height).The rectangle-shaped guide will adjust to show you where the image will be cropped. You can slide this box around to adjust what will be included in the cropped photo.
- Next, select Scale photo which will keep the image from stretching. Then click Apply. Voila!

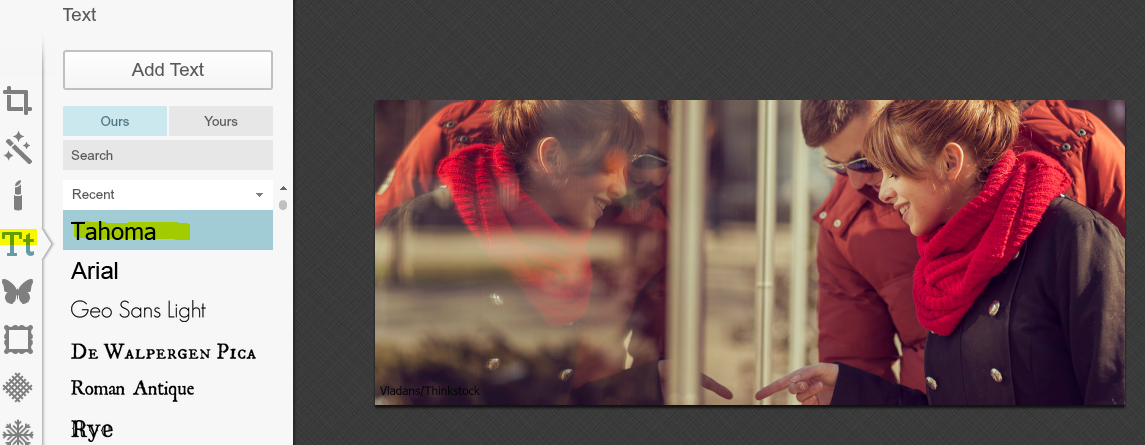
- To add the photo credit, click on the
 button in the menu. Select Tahoma as the font and then click Add Text.
- Paste the photo credit you copied from Thinkstock into the text box. The photo credit should include: Photographer Name/Thinkstock. Adjust the size of the credit so it’s not super huge but it’s still there. It’s going to look larger on the blog page itself, so it’s OK to reduce it. Adjust the color if needed. Position the credit on either the bottom right or bottom left corner.
- Click Save on the top menu and rename the image. The image should not be Thinkstock74552155.jpg. Google doesn’t like that. Instead, rename the image to something that describes the photo and includes the keyword, if possible. Add dashes in between each word. The dashes help to index and load photos faster on the website. A good photo file name would be: Couple-window-shopping.jpg. (Picmonkey adds the jpg so you don’t have to.)

- Once it’s saved, you’re ready to upload it to WordPress!