
Note: You will want to make sure that you have a template to use before starting autoresponders.
Create the Campaign
- Go to Campaigns, then click the Create Campaign button in the top right
- Choose Email > Automated > Welcome new subscribers > Onboarding Series
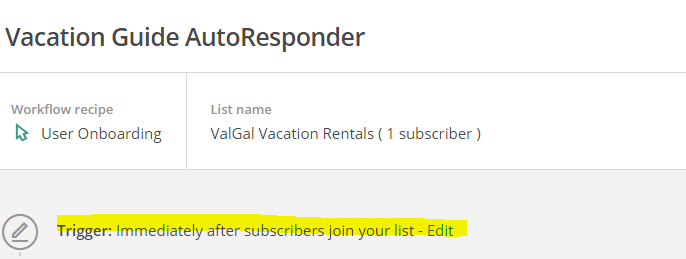
- Name the campaign whatever you wish, like “Vacation Guide AutoResponder”
Setup and Design the Campaign
- Verify that the Trigger is set to “Immediately after subscribers join your list”
- Create a Segment requirement for this campaign so that it only triggers for the appropriate leads. For example, for the vacation guide the segment is “Subscriber is a member of the saved segment Vacation Guide Signup”


- Click the Design Email button to the right of the first email to get started.
- Set the Name, subject, preview, etc for your email. Example:
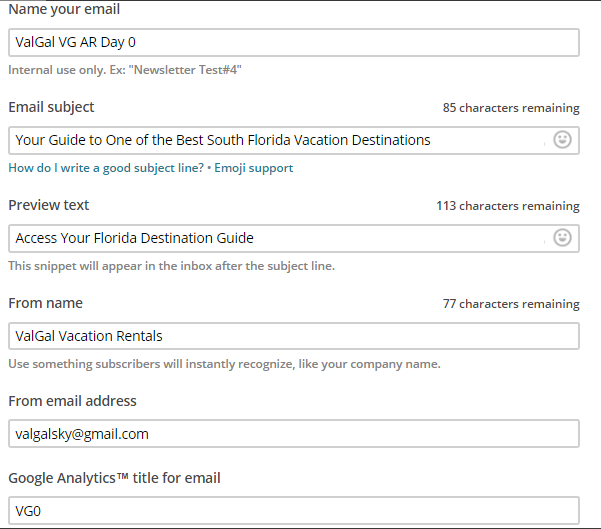
Click the blue Next button
- Go to the Saved templates tab and select your template. Input the VG content into the template.
- Once you’ve created your first AR, click Save and Continue in the bottom right. Continue moving through each of your ARs
- Each email is automatically sent to send 1 day after the previous, but you can edit the trigger if needed
- If you don’t need all 5 emails, just delete the extras by clicking the dropdown arrow to the right of the email.

- Once you’ve completed all ARs and deleted any extras, select Next in the bottom right.
- Confirm all settings and options on the confirmation page, then select the blue Start Workflow button in the bottom right.
Modifying an Existing AutoResponder Campaign
- Click into the campaign you’d like to modify
- Select the grey Pause All Emails button in the top right
- Alternatively, you can pause an individual email for editing by clicking the grey Pause & Edit button in line with that email

- If you need to turn the campaign off but don’t want to delete it, you may just leave the campaign paused
- Alternatively, you can pause an individual email for editing by clicking the grey Pause & Edit button in line with that email
- When the campaign is paused you can edit trigger conditions, the content of the email, and workflow settings
- To turn the campaign back on, simply click the grey Resume All Emails button in the top right.