
Below, you’ll find the exact procedures for pulling contact lists for customers. This is especially helpful for better retargeting past guests with email marketing and/or Google Ads, as well as taking a step out of the onboarding process for customers.
As a reminder, the list must be scrubbed by following the steps in this Knowledge Base Article to ensure we’re sending e-mail marketing to a healthy, viable list.
Escapia
- Go to the customer’s Escapia URL
- Typical structure: [customer website URL].escapia.com
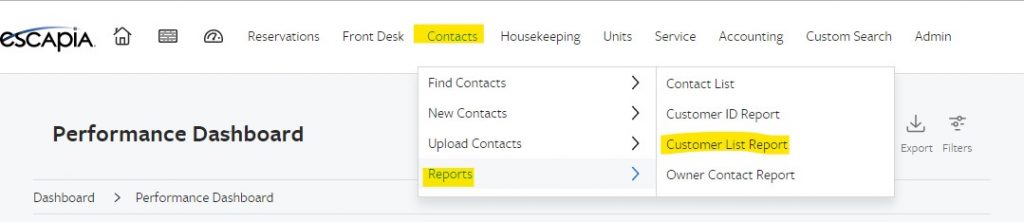
- Click the Contacts Dropdown > Reports > Contact List Report (screenshot below).
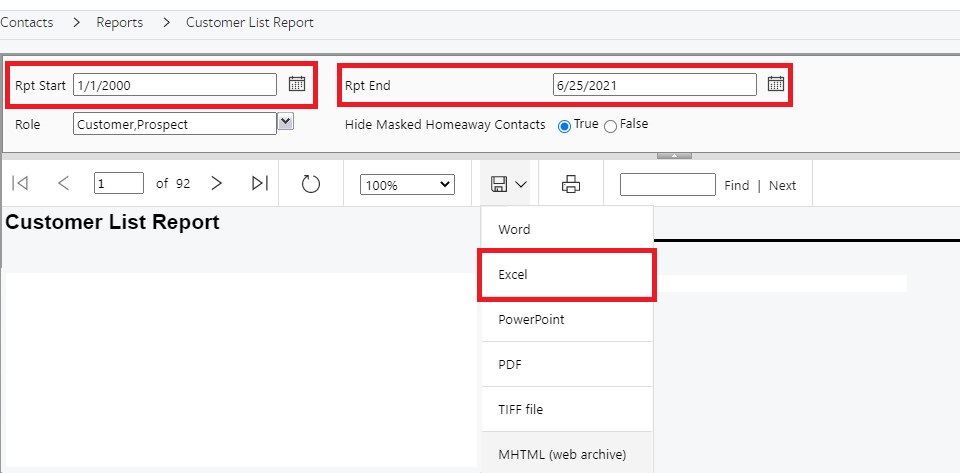
 Adjust the Rpt Start: Push back as far as you want. In this example, we adjusted to 1/1/2000 to capture all leads, prospects, and customers since then.
- Adjust the Rpt End: Already set to the date you run the report and should not need adjusting.
- Role: Customer, Prospect is already selected but you can pull other roles based on the customer’s system (like Owners, Real Estate, etc.)
- Clicked View Report on the right-hand side of the screen
- You’ll see a full list of the Role, Name, Email, Phone, Phone Type, Address, etc.
- Once the report is loaded completely, click the floppy disk icon and select Excel.
Streamline
- Go to the Admin Portal and to your customer’s account.
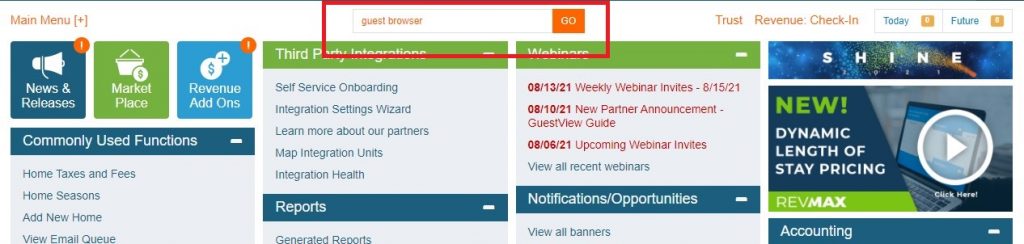
- Type “Guest Browser” into the Search Bar at the top
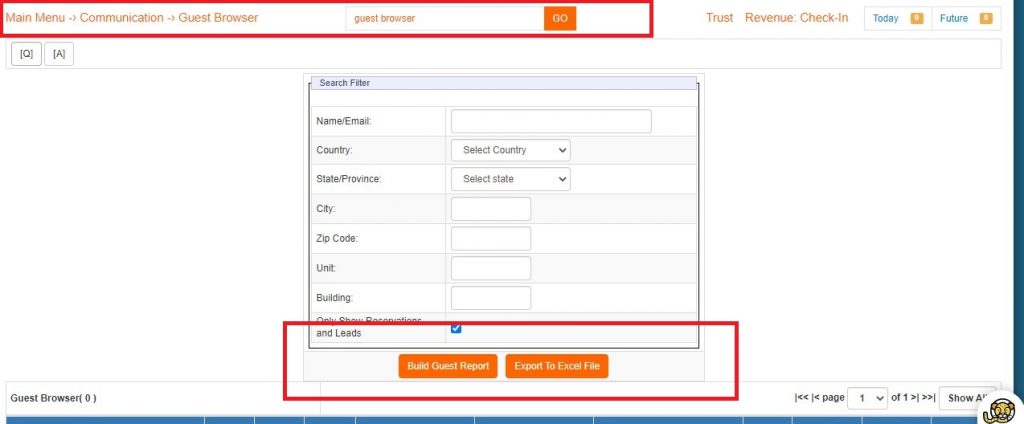
- Select “Guest Browser” in the search results. If there is more than one option present, select either one as it will take you to the below screen. From there, you’ll select Build Guest Report then Export to Excel.
ThinkReservations
- Go to ThinkReservations and to your customer’s account.
- Click Customers in the top navigation menu.
- Click the Download button and open the CSV file that downloaded to your customer.
- Highlight all of the contents of the document.
- Click Sort & Filter in the top right-hand corner of Excel. Then, click Filter.
- Sort the “Agreed to Marketing Emails” column by Largest to Smallest and remove all rows with a 0 in this column. These past guests have not opted-in to e-mail marketing.
- Sort the “Email” column from A to Z and remove all rows that do not have an e-mail address in the Email column. Of course, we can’t send e-mail marketing to past guests that did not associate an e-mail with their reservation.
- Save this file and follow the steps in the SCRUBBING EMAIL LISTS PRIOR TO ACTIVECAMPAIGN IMPORT Knowledge Base article prior to uploading the list to your customer’s ActiveCampaign account.