The Q4VR plugin is currently integrated to work with 2 floorplan services frequently used by customers: TruPlace and Matterport.
Plugin Setup
The first step to showing your customer’s floorplans on the property page is to select the correct service in your Q4VR Settings under the Preferences Tab. You will see a Select field called Floorplan Service where you can select the appropriate service. Make sure to click Update after changing your Preferences.
PMS Setup
In order to display correctly, your floorplan link must be entered correctly in your PMS. For all PMS’s, the links should be entered with just the URL – do not include the iframe or anything else with the link. For example, a TruPlace link will look like this: https://tour.TruPlace.com/property/1292/56776/ and a Matterport link will look like this: https://my.matterport.com/show/?m=3PUYRWuaL7p.
We only have customers using these services on Escapia and Streamline, if you have a customer on a different PMS that wants to add a floorplan Service, talk to dev about where to add that information.
Escapia
On the Details tab for your unit, enter the link for Truplace/Matterport under Media.
Streamline
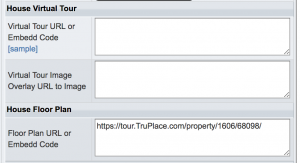
On the House Details tab for the unit, enter the link under House Floor Plan: Floor Plan URL or Embed Code.
Display Examples
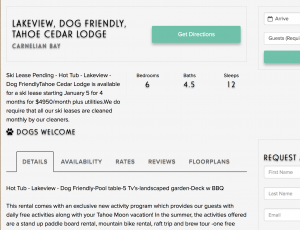
If your customer has a Floorplan service selected and the PMS API returns a media link for the selected service with all of the data for a unit, the Floorplans tab will display on the Property Page.
TruPlace
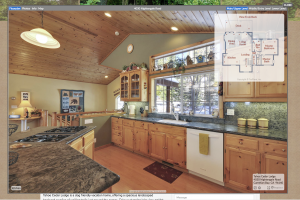
TruPlace displays as a popup within the boundaries of the browser. Users can hover over rooms in the floorplan layout to see images related to each room.
Matterport
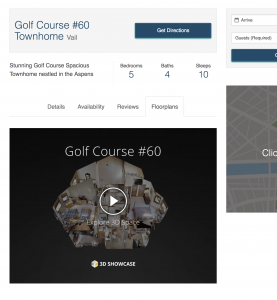
Matterport is an iframe that will display within the boundaries of the tab on the property page, but the “Fullscreen” option will be clickable within the Matterport viewport. On mobile, the Matterport view will open in a new tab for max visibility.
