
Why we Use Demo/Dev Sites:
During the onboarding/design/redesign/testing process of a website, the Dev team will first build out a WordPress site that serves as a development “staging” area. This gives us the opportunity to test and break things before it is released as a live website. The Dev site serves as the testing ground and QA area for how the site will function prior to moving to a public production environment – “launching the site live”.
Example Demo site URL: sample.q4-demo.com
*if you see q4-demo within the URL you will know that you are in our Demo environment.
When the website goes live, we make a copy of the Demo site and move it live to production. Everything we’ve built within the Demo environment stays verbatim when moved to production.
Dev: Creating A Demo Site
C-Panel | https://www.host.q4-host.com:2083
SECTION 1: Setup Dev Site Subdomain
- 1.1 In the C-Panel admin panel, click on the Subdomains tool under the Domains section.
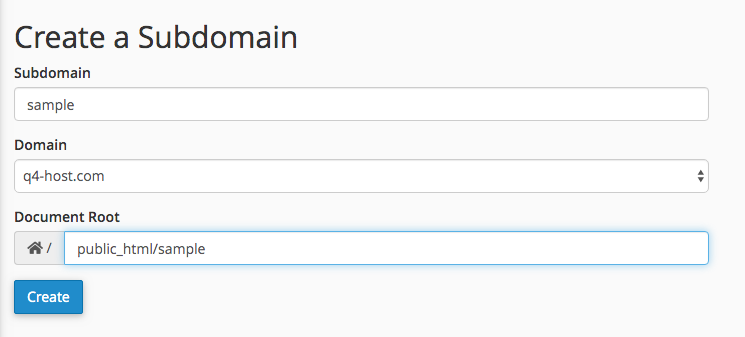
- 1.2 Subdomain: Input the customer name. Ex. alpineskiproperties
- 1.3 Domain: Keep the same…DO NOT CHANGE
- 1.4 Domain Root: Input the folder name where the website will live in the file system. Ex. public_html/alpinskiproperties
- NOTE: The section will auto fill to sample.q4-host.com. Remove q4-host.com
- 1.5 Click create to create new Subdomain for dev site
SECTION 2: Setup SQL Database
- 2.1 In the C-Panel admin panel, click on the MySQL Databases tool under the Databases section.
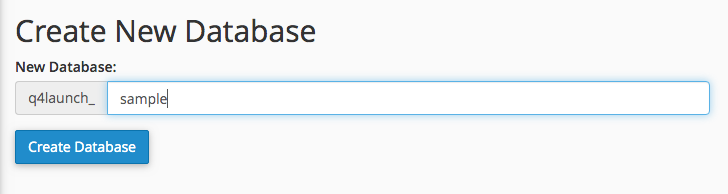
- 2.2 Create a new database and name it the as the customer URL. EX. alpineskiprotperties
- 2.3 Click Create Database
- 2.4 Add a New User (if necessary)
- NOTE: this will only need to be done if a brand new user is being created. Previously created users you can skip to next step.
-
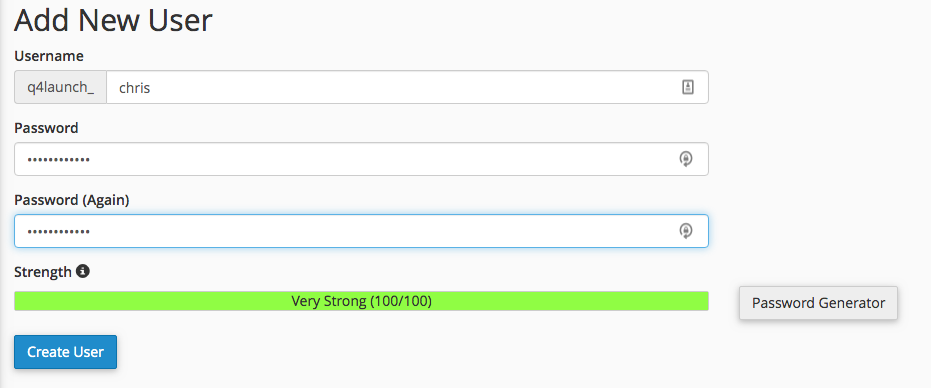
- Username: Input the first name of the new user. Ex: Chris
- Password: Insert a password for the new user. NOTE: This password must be a strong password 100/100…recommended to use a secure password generating tool.
- 2.7 Create New User
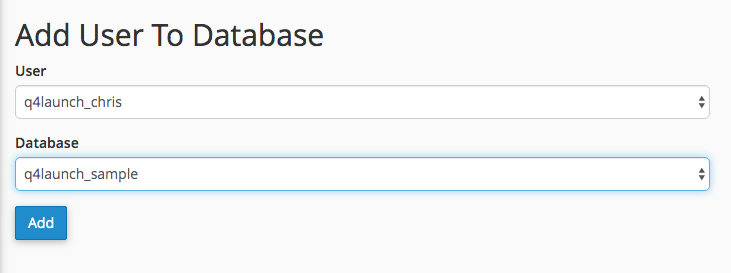
- 2.8 Add User to Database
-
- User: Select the name of the user you want to add. Ex: q4launch_chris
- Database: Select the database the user is to be added to. Ex: q4launch_alpineskiproperties
- 2.11 Click Add
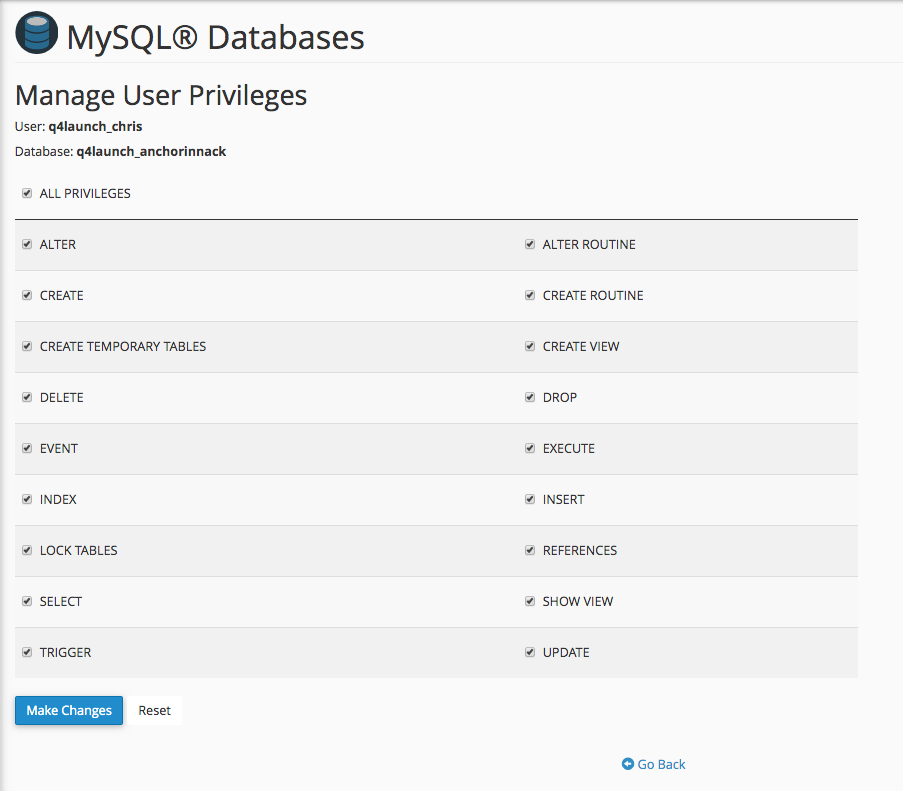
- 2.12 Then Select All Privileges and click Make Changes
- 2.13 Go back to previous page…NOTE: do not click the back button in the browser, be sure to click the Go Back button located on the bottom center of page.

SECTION 3: Copy WordPress Files
- 3.1 In the C-Panel admin panel, click on the File Manager tool under the Files section.

- 3.2 Navigate to the q4fw2 folder: File Manager–>public_html–>q4fw2
- 3.3 Select all the files and copy to created document root folder that you created back in section 1 step 1.3.
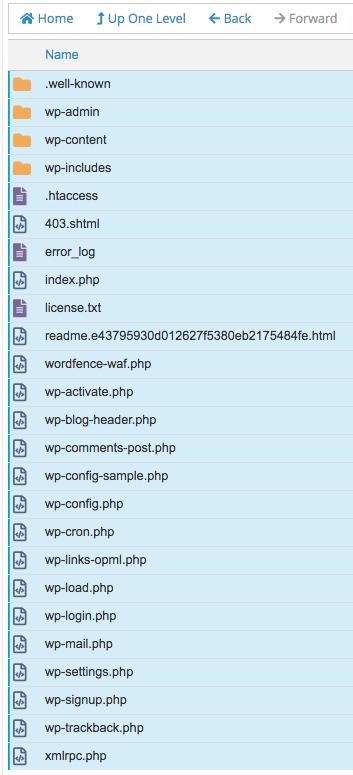
- 3.4 Navigate to customer’s Document Root folder: File Manage–>public_html–>”customer folder (ie alpineskiproperties)
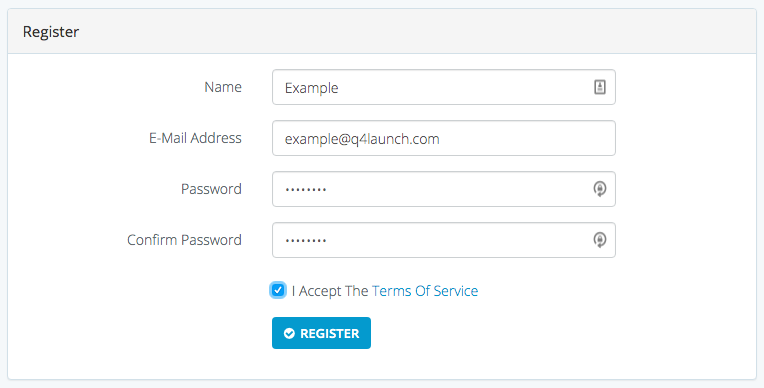
SETION 4: WordPress Install
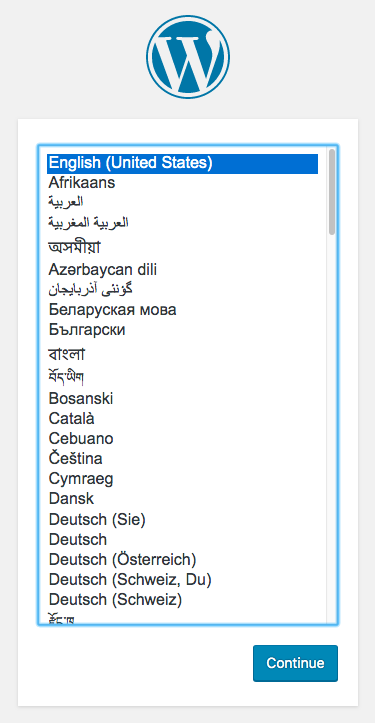
- 4.1 Submit Register Info
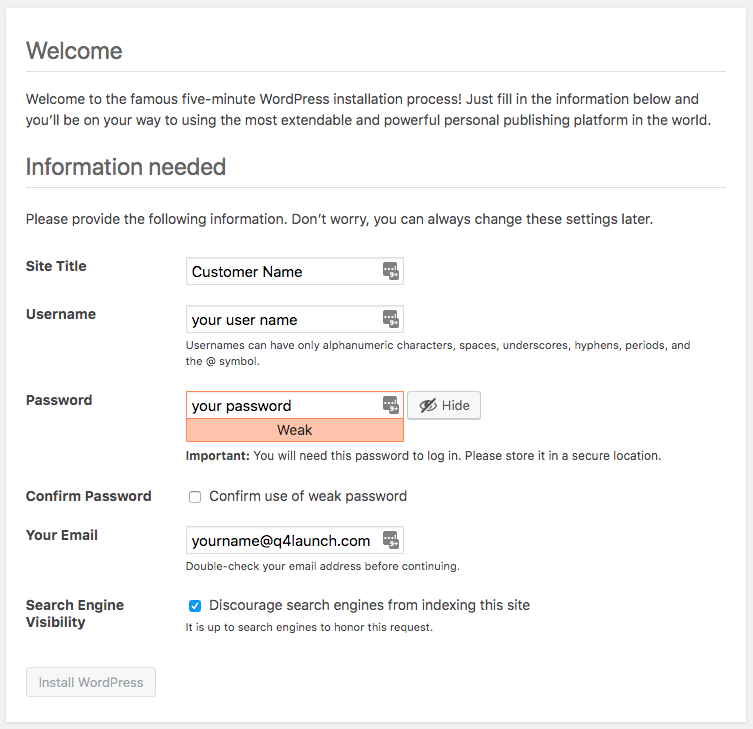
- 4.2 Check DISCOURAGE SEARCH ENGINES FROM INDEXING

- 4.3 Install
SECTION 5: WordPress Admin Panel
- 5.1 Activate all plugins except:
- Litespeed Cache
- Main WP Child
- Favorites
- 5.2 Settings Alert → Save Settings

- 5.3 Enable Updates Alert → Click Yes

SECTION 6: CONFIGURE WORDFENCE ALERT (Alternative Path → Sidebar Panel → Wordfence → Firewall Setting)
- 6.1 Register New User
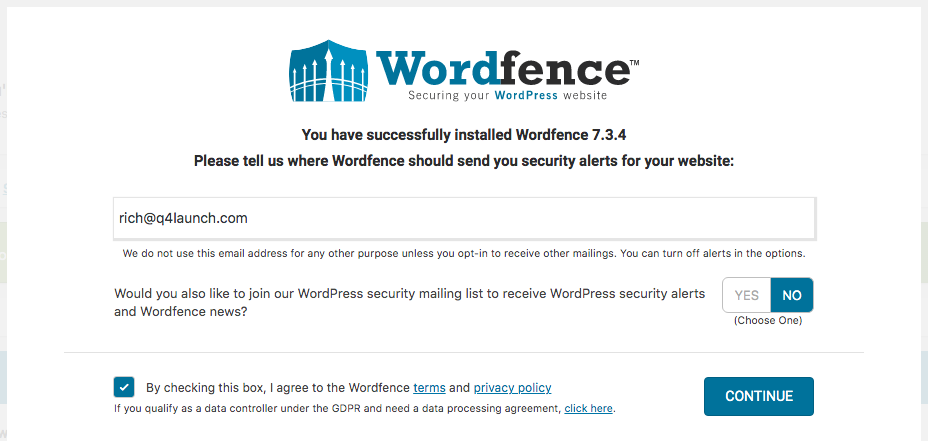
-
- Email Field: dev-team@q4launch.com
- Click “NO” → Avoids joining mailing list
- Check to agree to terms → Click Continue
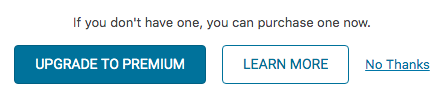
- 6.2 Click “No Thanks” when asked to submit a “Premium Key”
- 6.4 Configure Wordfence
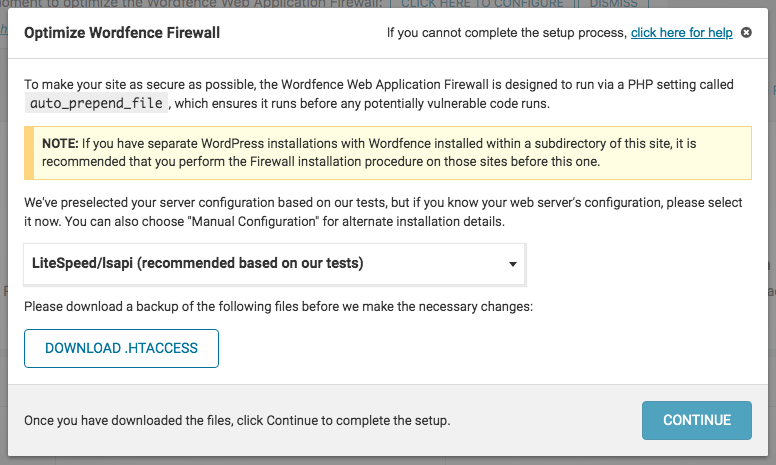
- 6.5 Download .HTACCESS → Continue
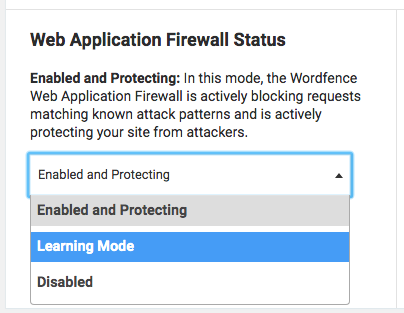
- 6.6 Firewall Status: Learning Mode
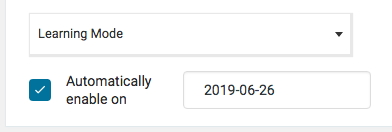
- 6.7 Check “Auto Enable All” → Save Changes
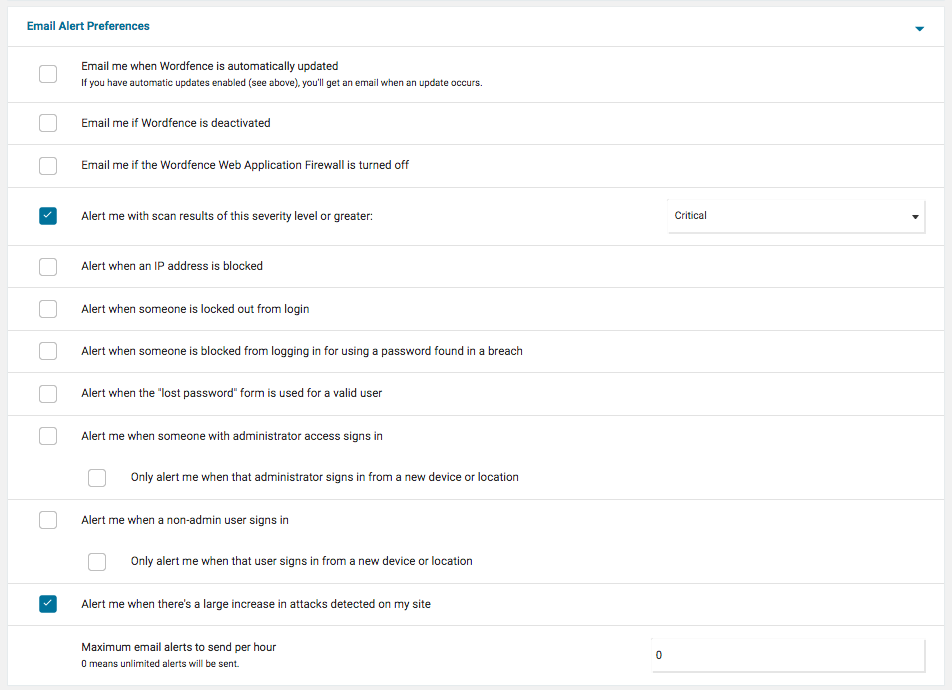
- 6.8 All Options → Email Alert Preferences Tab
- 6.9 Deselect all boxes except:
-
- “Alert on critical problems”
- “Alert me when there’s a large increase in attacks detected on my site”
- 6.10 Activity Report Tab
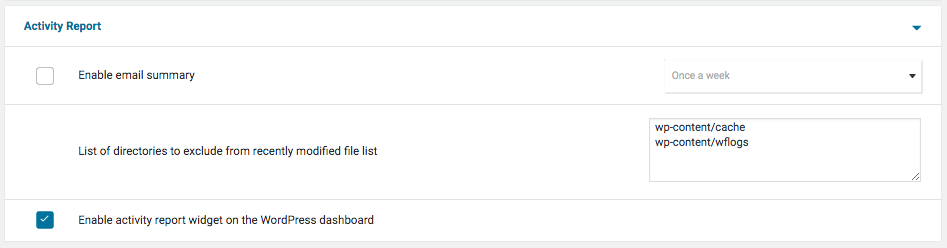
-
- Deselect “Enable Email Summary”
SECTION 7: CUSTOM FIELDS → UPDATES

- 7.1 Activate License Key
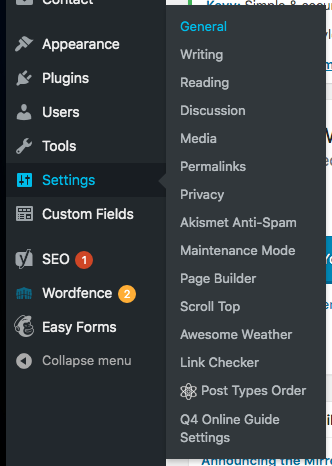
SECTION 8: SETTINGS
- 8.1 General
-
- Site Title: Custom (project) Name
- Tagline: Remove “Just another WordPress site”
- Save Changes
- 8.2 Reading
-
- Double Check that “Discourage search engines from indexing this site” box is checked
- 8.3 Permalinks
![]()
-
- Custom Structure: “/blog/%postname%/”
- 8.4 Akismet Anti Spam
-
- Ent API Key
- 8.5 Maintenance Mode
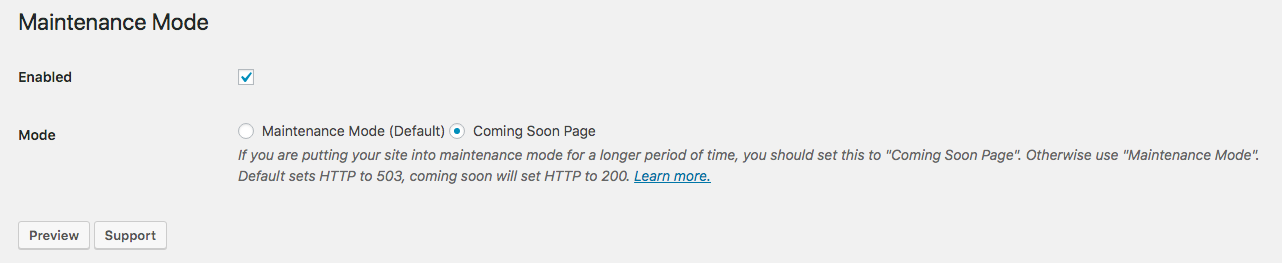
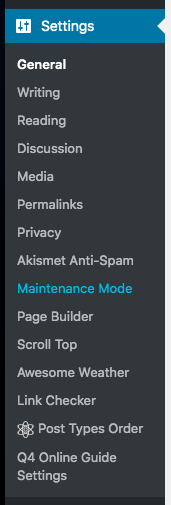
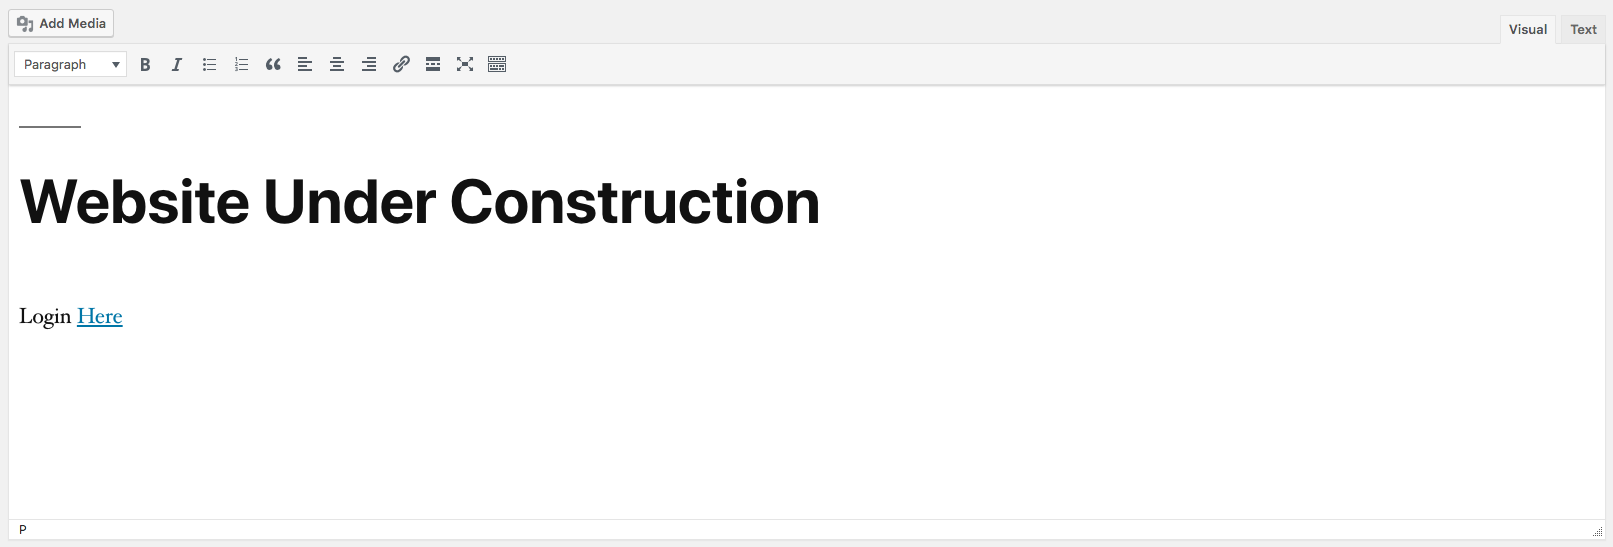
-
- Check “Enabled
- Mode: Coming Soon Page
- Wysiwyg Text: “Website Under Construction” | “Login here” – link “here” to wp-admin — For Development purposes only, it is good practice to have an alternative login option
- Setup Advanced Settings
- Check “Editor” and “Subscriber” boxes so user accounts can view the frontend of the dev site.
- 8.6 Awesome Weather

-
- Activate License Key
SECTION 9: Q4 ONLINE GUIDE SETTINGS
- 9.1 Go to q4-hub.com
- 9.2 Register New User
-
- Name: Customer Name → URL (without “www” and “.com”)
- Email: Customer Name@q4launch.com → create dummy email
- Password: “password” → always use – this is not a placeholder
- Register → Log Out
- 9.4 Click on the arrow located by the use profile image
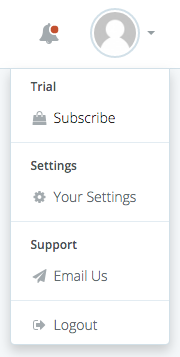
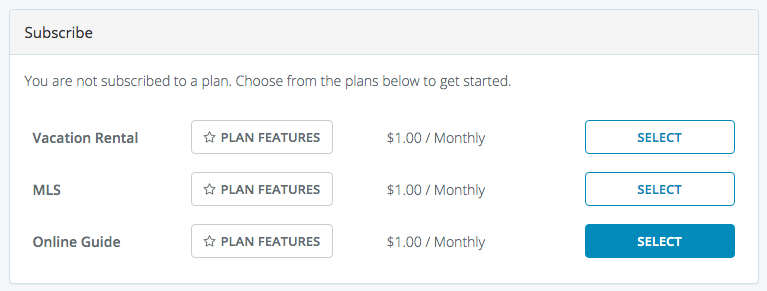
- 9.5 Subscriptions → Select Online Guide → Fill Form → Subscribe
- 9.6 Select Online Guide
- 9.7 Update Payment info
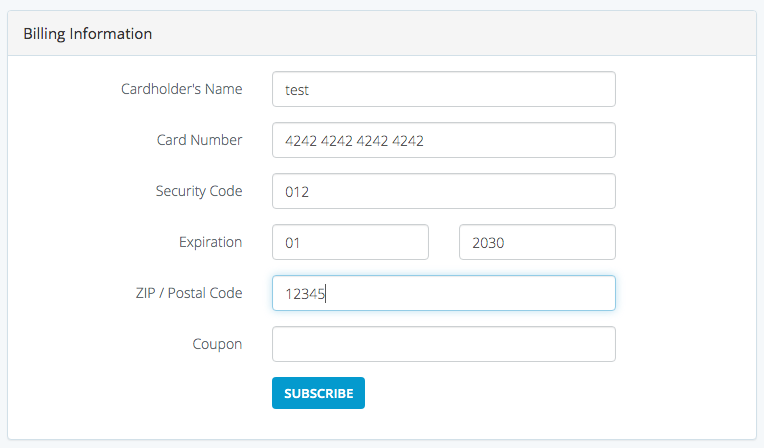
-
- Card Holder’s Name: test
- Card Number: 4242 4242 4242 4242
- Security Code: 012
- Expiration: 01 2030
- 9.8 Deselect “ADD” button to deactivate “Vacation Rentals”
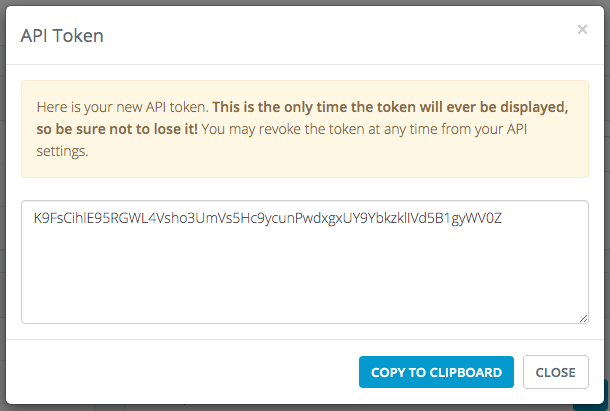
- 9.9 API → User Token: Customer Name → Create → Copy key to clipboard
- NOTE: If you exit window without copying key, remove User Token and recreate User Token
- 9.10 Go Back to WordPress Admin → Q4 Online Guide Settings (in side panel)

- 9.11 Paste API key in form
SECTION 10: APPEARANCE → THEMES
- 10.1 Activate Child Theme (Customer Theme)
SECTION 11: CUSTOMIZE
- 11.1 Navigation “Menus” setup
- 11.2 Setup Primary Navigation
- 11.3 Setup Footer Navigation
- 11.4 Homepage Setting
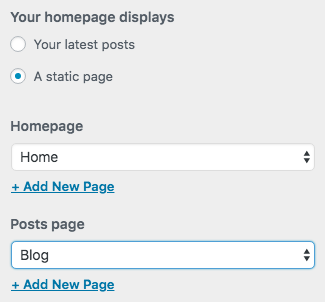
-
- Select Static Page
- Add “Home” for “HomePage”
- Add “Blog” for “Posts”
SECTION 12: ADD USERS
- 12.1 Form Setup Example:
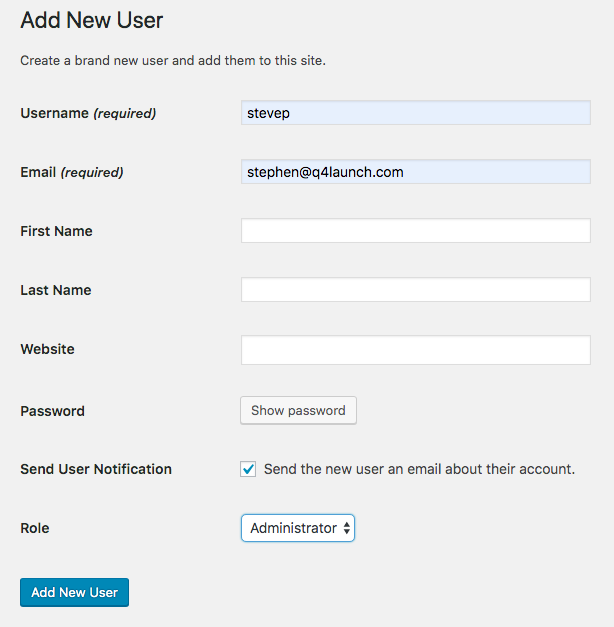
-
- Username: stevep
- Email: stephen@q4launch.com
- Role: Admin — This will be the role setting for every user you setup
- 12.2 Add New User:
- Stephen Parker
- Chris Lugenbeal
- CSM/CS
- Guest User (find creds in keeper)