The Open Weather Widget we use on our websites is useful for potential guests, but it can be problematic to set up.
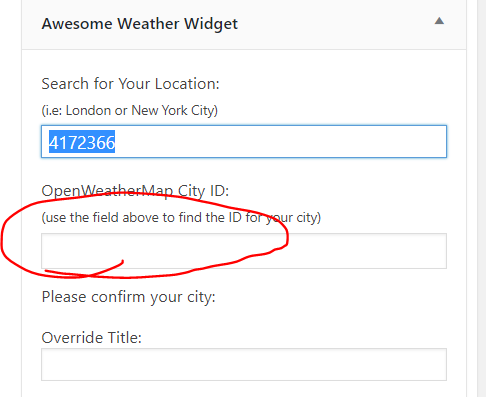
Specifically, if you put the city ID code in the wrong field, it won’t work. Additionally, when you search for city IDs, it bafflingly specifies city and country, but not the state. In cases where there are multiple cities of the same name, this can cause problems.
The correct way to find the city ID is to type the city name into the first field of the widget, and then select the correct city from the results.
Incorrect Setup
Correct Setup
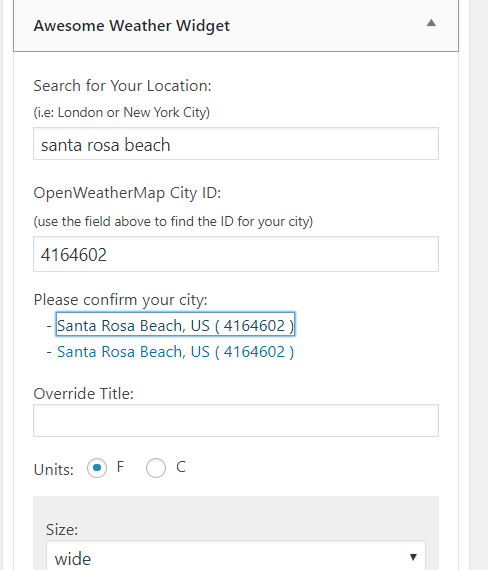
Note that, even in the correct setup, where it asks you to confirm your city, it bafflingly does not specify the state. If you have multiple options and cannot tell which is the correct city, go to https://openweathermap.org/ and search there.
It still will not specify the state, but the results will provide the geocoordinates, which you can click on and look at a map to confirm that it is the correct location.
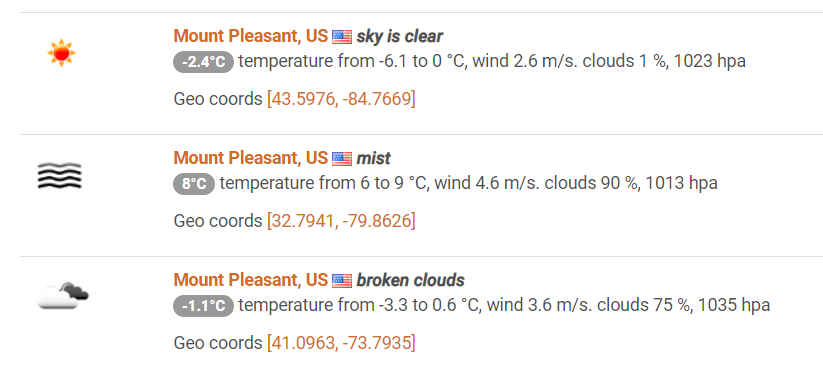
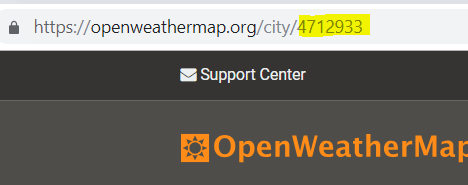
Once you’ve confirmed which is correct, you will need to go back to the search results and click on the city name to open the city’s page, and you can pull the city ID from the URL. Then, when you go back to editing the widget on your customer’s website, you’ll know which is the correct result.
Yes, this is stupid and terrible user experience, but until we find a better free weather widget, this is what we’re stuck with.
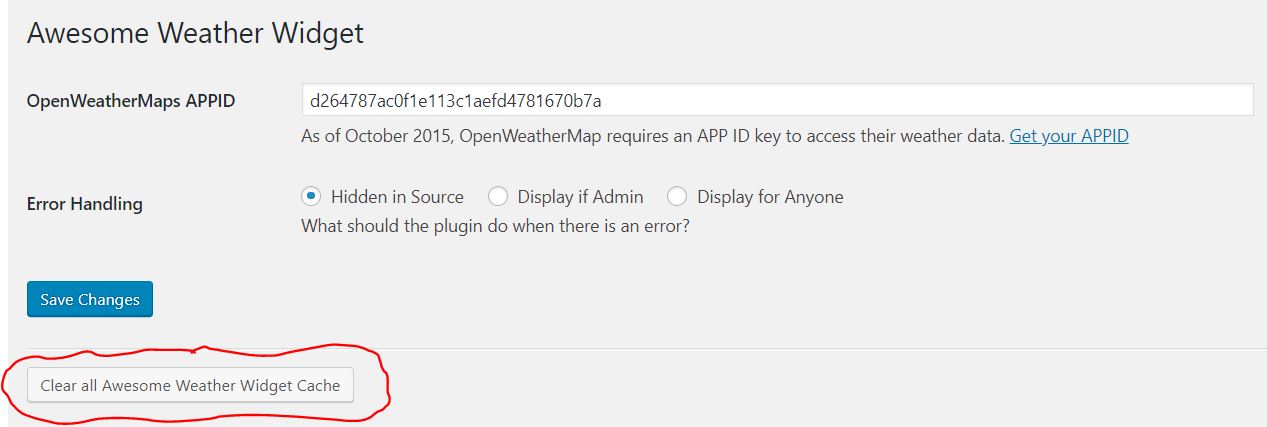
If You Have the Correct Location Code but It Still Is Not Displaying the Correct Temperature
This can happen from a caching error in the plugin. Thankfully, it is an easy fix.
First, confirm that you do have the correct city ID. Once you do this, go to Settings > Awesome Weather and click the “Clear all Awesome Weather Widget Cache” button.