Step 1 – Login AWS with your credentials.
Step 2 – Search “Elasticsearch” on Services search area.
Step 3 – Select Elasticsearch Services, which comes from auto search
Step 4 – In “Amazon Elasticsearch Service dashboard” click on “create a new Domain”
button
Step 5 – Select the options basis on our requirement for creating new domain. Below are
the some settings:
- Version – 5.6
- Elasticsearch domain name – Enter Domain name
- Instance type – t2.medium.elasticsearch (currently we have used basic services, it
needs to increase based on the user accessibility) - Number of instances – 1
- Storage type – EBS
- EBS volume type – General Purpose (SSD)
- EBS volume size – 10 GB
- Network configuration – Public Access
- Set the domain access policy to – Allow open access to domain
Confirm all the changes and wait till domain status is not change to Active
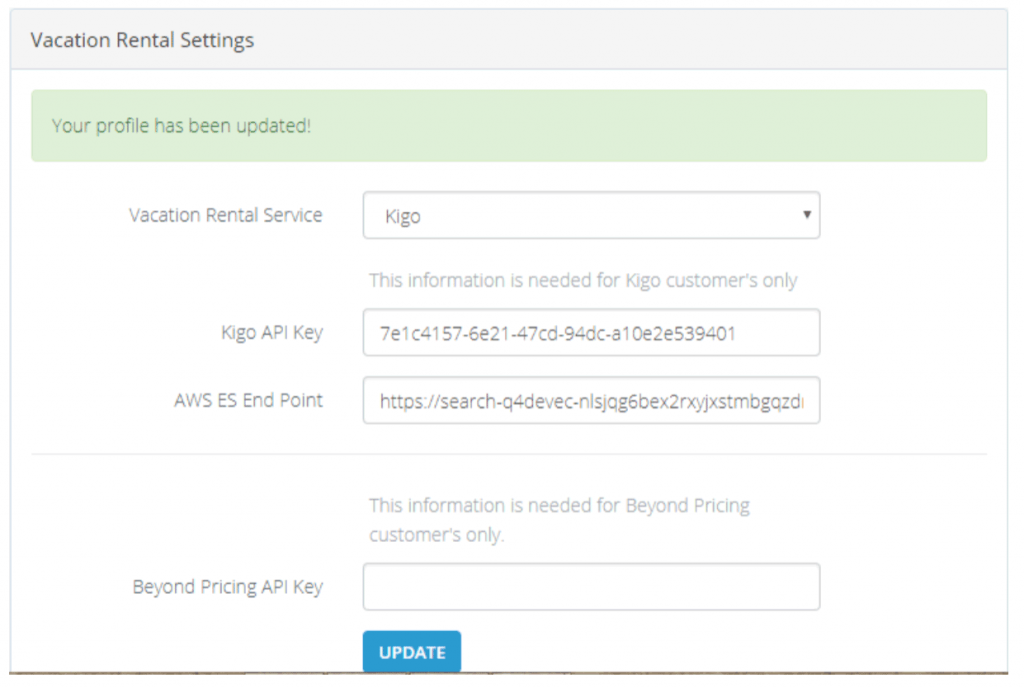
Change in Plugin for Kigo Configuration: For Kigo API configuration we have provide a text
box in hub application, when you select the Kigo from drop down you need to put newly
created Elastic Domain in new text box, that is used to store the property details for new
configure client.