
API Access
Q4HUB Account
Creating an API User
If you have a manager account….
Visit http://Q4-Hub.com/ and login with your email and password and select ‘Manage API Users’
Create a new user
Name: <Client name>
Email: <ClientName@q4vr-server.com> (this does not have to be a real email address)
Password: <Any Password>
Website: Follow the instructions on the screen – be sure that if you are setting it up for the staging server you provide the proper URL.
Service: Select Barefoot / Escapia / Streamline / V12 / VRM
Fill in the fields that display once you make your selection.
Click ‘Create’.
if you don’t have a manager account
Click Register.
Enter the following:
- Name: Full Name of Customer
- E-mail Address: Full name of customer without spaces @q4-launch.com
- Password: password
- Confirm password: password
- Check “I Accept The Terms of Service”
- Click Register
When you click Register, it will log you in as your new user and take you to the blank dashboard page.
Click the User icon on the top right, and go to “Your Settings”.
Set up user Q4HUB Subscription
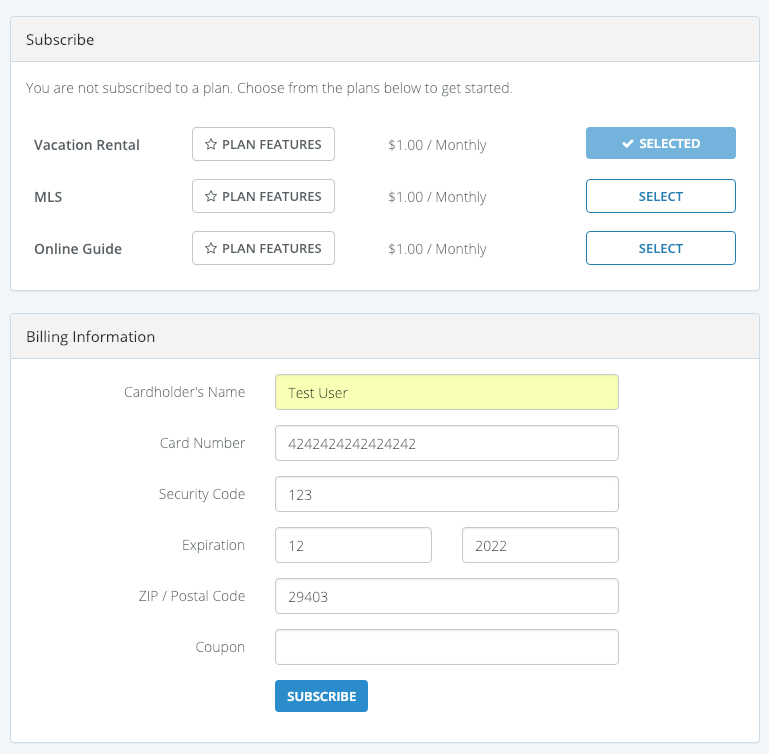
In order to use the VR plugin, the user must be Subscribed to the Vacation Rental plan in the HUB. You can also subscribe to the Online Guide if applicable.
- From the Settings page, click on the Subscription tab under Billing on the left sidebar.
- Click “Select” next to Vacation Rental. This will open the Billing Information area.
- Enter a sample user for the billing info.
- Test User
- Card #: 4242424242424242
- Card Expiration, CVV, and Zip code can be anything
- Click Subscribe
- Make sure the “Add” button next to Vacation Rental now says “Active”. You may need to click on Online Guide in order to see the change (a bug).
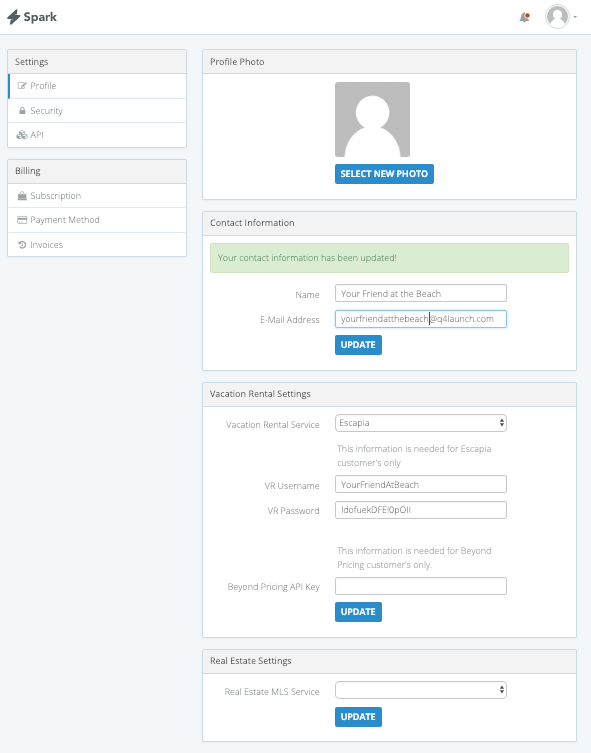
Set up user PMS data
- Select Profile (under Settings) from the left sidebar.
- Under Vacation Rental Settings, Select your customer’s PMS from the Vacation Rental Service field.
- Complete the fields that display under your PMS. The fields will vary based on the needs of the PMS.
- If your customer uses Beyond Pricing, enter their Beyond Pricing API Key. Otherwise, leave this blank.
- Click Update.
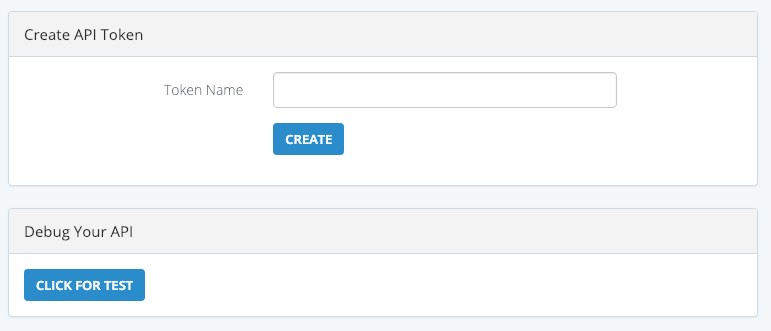
GETTING AN API KEY
- On the sidebar under Settings, click on the API tab.
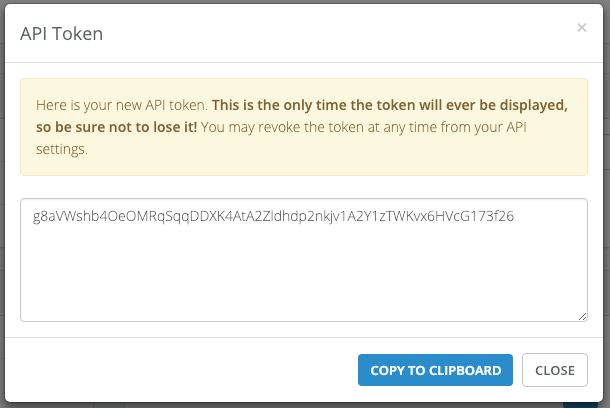
- Under Create API Token, enter the Token Name. I usually use something like “YFAB VR”, which is a customer name abbreviation + VR. It can be anything though. Click Create.
- The API key will display. Copy it – you can’t get it again unless you look in the database.
Q4Plugin Setup
Installing the plugin (developer’s only)
Download the latest build of the plugin from Gitlab pipelines Artifacts (read more about artifacts) and install & activate it.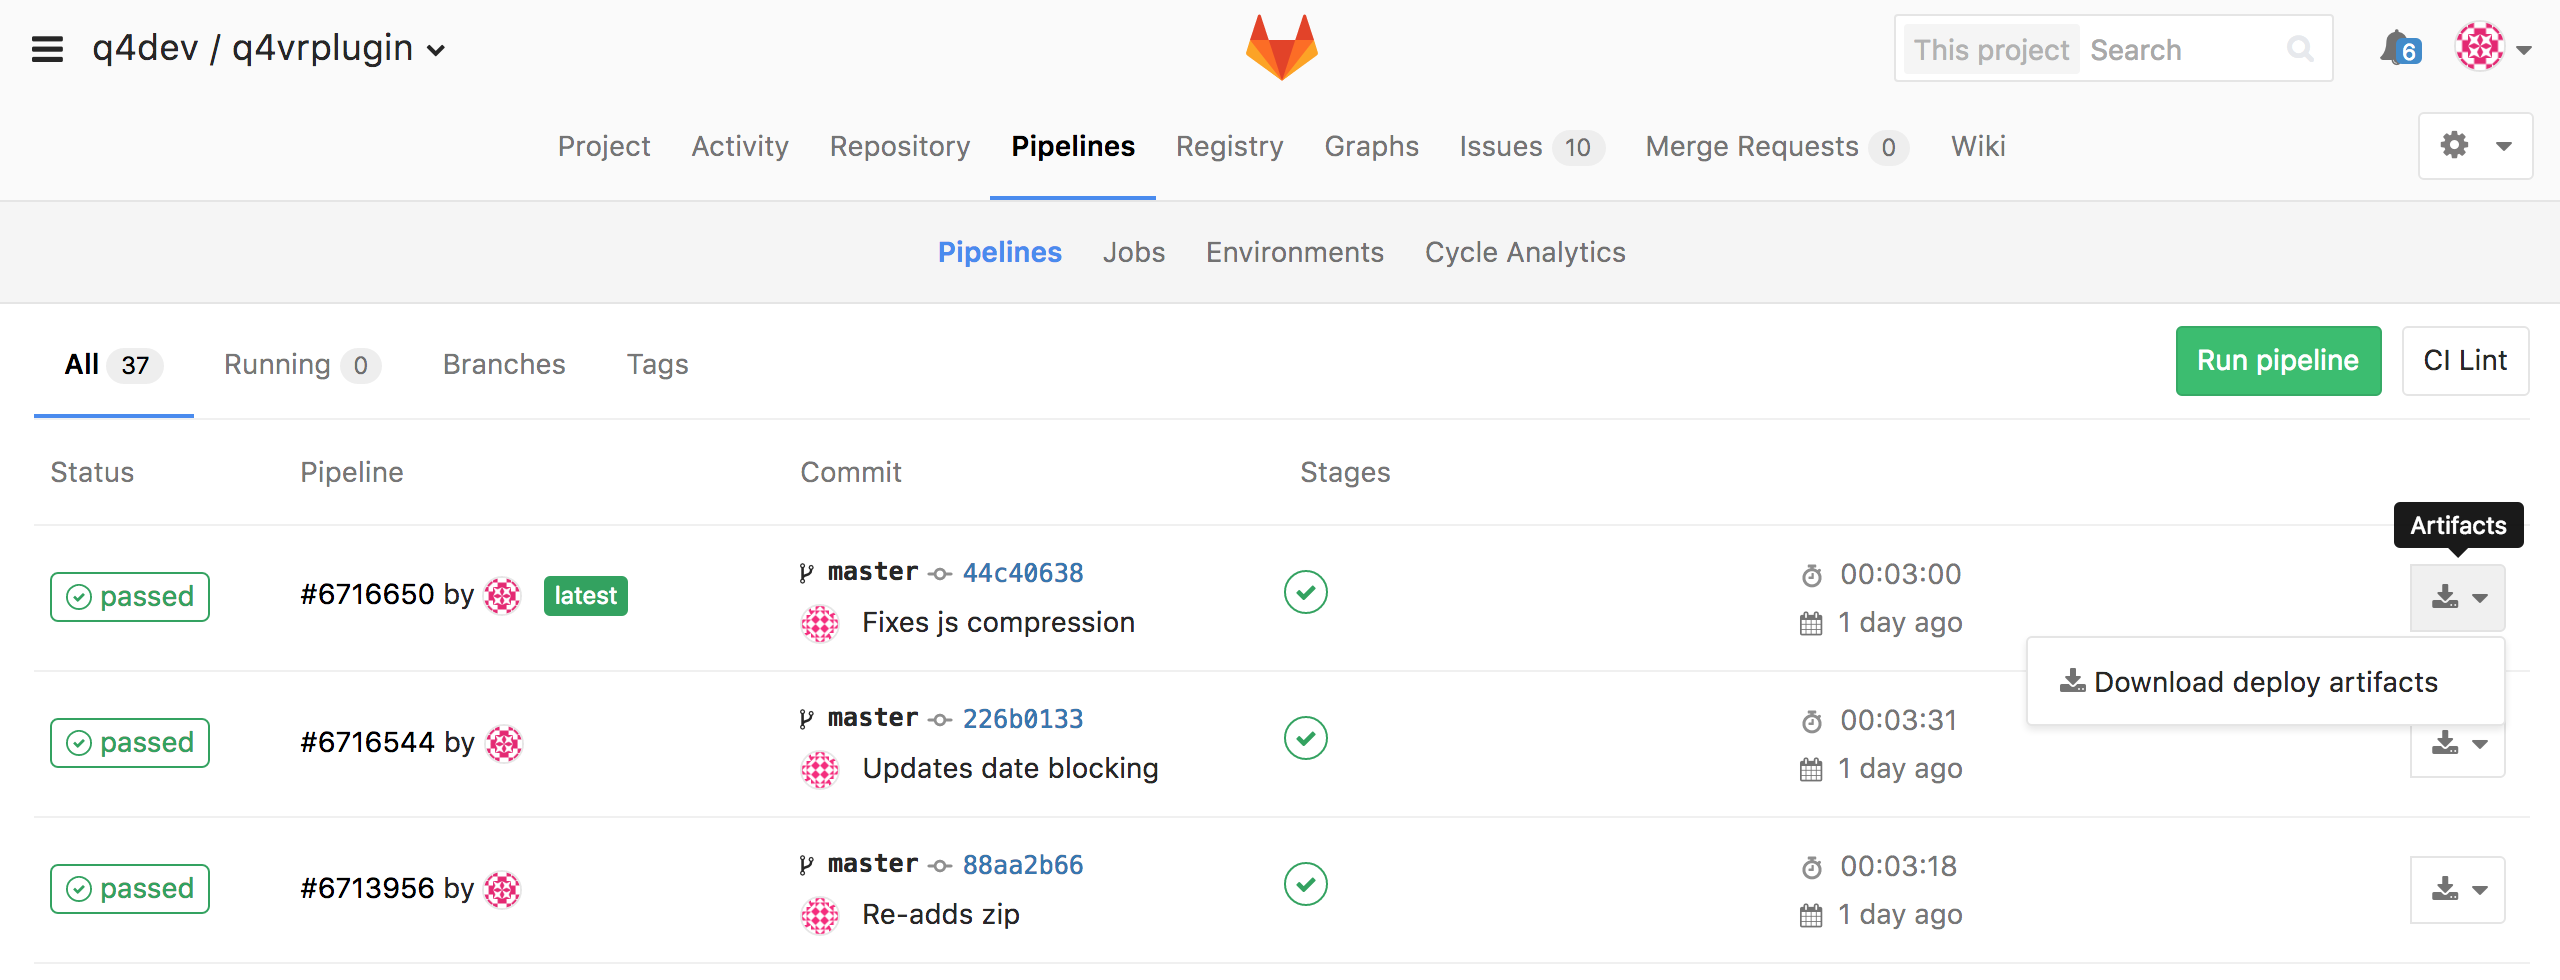
You will be redirected back the Vacation Rental settings page which should now have your API Key filled.
SYNCING PROPERTIES
In the Access Settings section of the Q4VR Settings page, add your API Key to the Q4 API Key field and make sure the Q4HUB URL is in the Q4 API URL field.
Below the Api Key you should see a ‘Sync Properties’ row with the number of units available for sync. If the number is 0, the API Key is not working properly or it does not have access to the client’s data.
Select ‘Sync Now’, this may take a couple of minutes.
See this article for full Q4VR Plugin Settings setup: https://kb.q4launch.com/q4vr-setting-up-vr-plugin/.